Display Geotagged Photos
From AWF-Wiki
Workflow
- Open QGIS.
- Select Plugin --> Manage and install plugins. Activate the Photo2Shapel and eVIS plugins (you can find them by typing the plugin names into the Search bar).
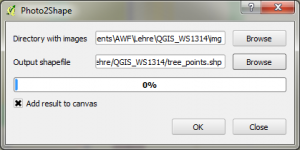
- Click the Photo2Shape tools icon

- Select the input folder containing your images.
- Enter an output shapefile
 Figure A:: QGIS 2.0 with Photo2Shape |
- Load a raster map, e.g. from the course data and locate it under the GPS points (see Loading raster data). You can find an aerial photograph of the forestry faculty under geodata/raster/aerial/aerial_utm32_WGS84.tif.
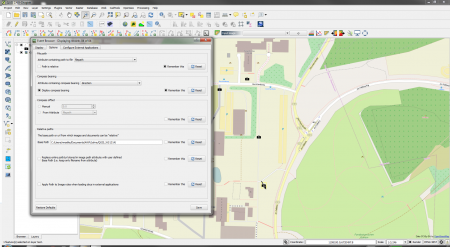
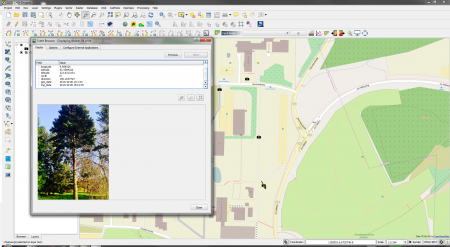
- To view the full information for a point, select Database --> eVis --> eVis Event Id Tool. Select the tree waypoints layer in the TOC and select a point. The eVis Event Browse opens (figure D). The image of the trees should be shown in the browser. If not, check the path to the file again. You can adjust the setting of relative and absolute paths in the Options tab. Here, you can select Path is relative, if you want to store relative paths. To display the direction from which the picture was taken, check the box Display compass bearing.
 Figure D:: QGIS 2.0 with eVis Event Browser settings window |
 Figure E:: QGIS 2.0 with eVis Event Browser |