Setting up Jupyter Notebook
From AWF-Wiki
Contents |
Installation Guide for Windows Miniconda
Go to the Miniconda Download page [Miniconda Download]. Download the appropriate (32- or 64-Bit) Python 3.7 version of Miniconda.
- Double click on the .exe file and click Install.
- Read and agree to the licensing terms.
- Select if you want to install for ‘Just Me’ or ‘All Users’. If you are installing for ‘All Users’, you must have Administrator privileges.
- You will be prompted to select the installation location. By default, Anaconda should try to install in your home directory. We recommend accepting this default. Click Install.
 Anaconda PATH environment variable
- You will be asked if you want to add Anaconda to your PATH environment variable. Do not add Anaconda to the PATH because it can interfere with other software.
- You will be asked if you want Anaconda to be your default version of Python. We recommend ‘Yes’.
- Click Install.
Create a new Conda environment with tensorflow
To install the current release of CPU-only TensorFlow
- Open the Anaconda Command Prompt from windows start menu, type:
conda create -n tf tensorflow
conda activate tf
Install Jupyter
- In the Anaconda Prompt, type
conda install jupyter
Once the installation is complete, you can run a jupyter notebook by typing:
jupyter notebook
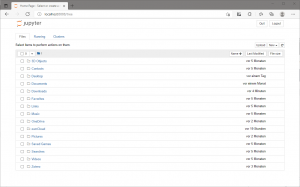
A Jupyter Notebook interface will appear in your default browser.

Install required packages
Now we install a few packages we need for the course.
- In the Anaconda Command Prompt, type (hit ‘Enter’ after each row)
conda install numpy
conda install -c conda-forge matplotlib
conda install -c conda-forge pandas
conda install -c anaconda pillow
- Press Enter after each row