Downloading Sentinel-2 images
From AWF-Wiki
(Difference between revisions)
(→Using the Open Hub) |
(→Using the Open Hub) |
||
| Line 1: | Line 1: | ||
== Using the Open Hub == | == Using the Open Hub == | ||
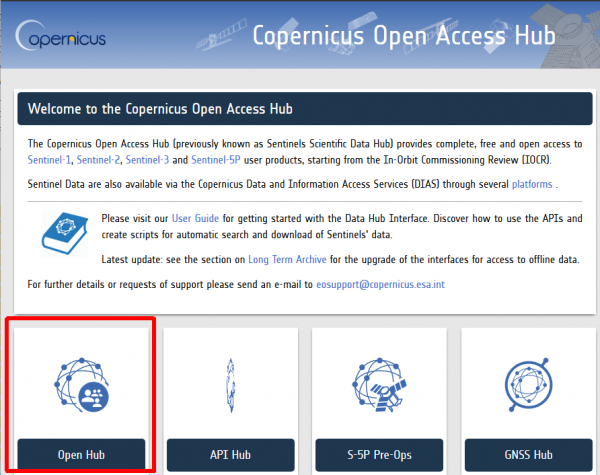
* Visit the [https://scihub.copernicus.eu/ Copernicus Open Access Hub] and click on '''Open Hub'''. | * Visit the [https://scihub.copernicus.eu/ Copernicus Open Access Hub] and click on '''Open Hub'''. | ||
| − | [[File:copernicus_oah.png| | + | [[File:copernicus_oah.png|600px]] |
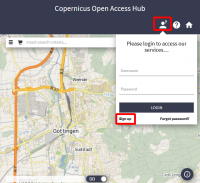
* Register for a new account: click Login and '''Sign-up''' on the upper right. | * Register for a new account: click Login and '''Sign-up''' on the upper right. | ||
[[File:copernicus_register.png|200px]] | [[File:copernicus_register.png|200px]] | ||
Revision as of 08:36, 25 October 2019
Using the Open Hub
- Visit the Copernicus Open Access Hub and click on Open Hub.
- Register for a new account: click Login and Sign-up on the upper right.
 You will receive an e-mail with a link to validate your e-mail address. Following this you can login and start to search for data.
- Activate the Pan Button on lower left of the Web map. Zoom in to your region of interest using the middle mouse wheel or enable a middle-click with gestures on your touchpad.
- Activate the Box on lower left of the Web map. Draw a rectangle with left mouse click or activate Polygon on lower left
to draw a polygon.
- Open the tab on the upper left of the Web map following the Advanced Search instructions.
- Enter the sensing period of interest by entering the "from" and "to" date.
- Activate the checkbox of the Mission: Sentinel-2. You may also choose the data type (Level 1C or Level 2A) and minimum cloud cover.
- Click on Search to display quicklooks of the available satellite scenes.
- Have a closer look on the quicklooks select a single product or add several products to a cart for downloading.
