Supervised classification (Tutorial)
From AWF-Wiki
(Difference between revisions)
(→Training phase) |
(→Classification phase) |
||
| Line 22: | Line 22: | ||
* Set {{button|text=Output pixel type}} to '''uint8''' | * Set {{button|text=Output pixel type}} to '''uint8''' | ||
* Save the {{button|text=Output image}} as '''svm_classification.tif'''. | * Save the {{button|text=Output image}} as '''svm_classification.tif'''. | ||
| − | * Uncheck Confidence map: Open output file after running algorithm. | + | * Uncheck Confidence map: ''Open output file after running algorithm''. |
=Per pixel classification with OTB standalone= | =Per pixel classification with OTB standalone= | ||
Revision as of 13:44, 4 July 2019
Contents |
Per pixel classification with QGIS and OTB processing plugin
Training phase
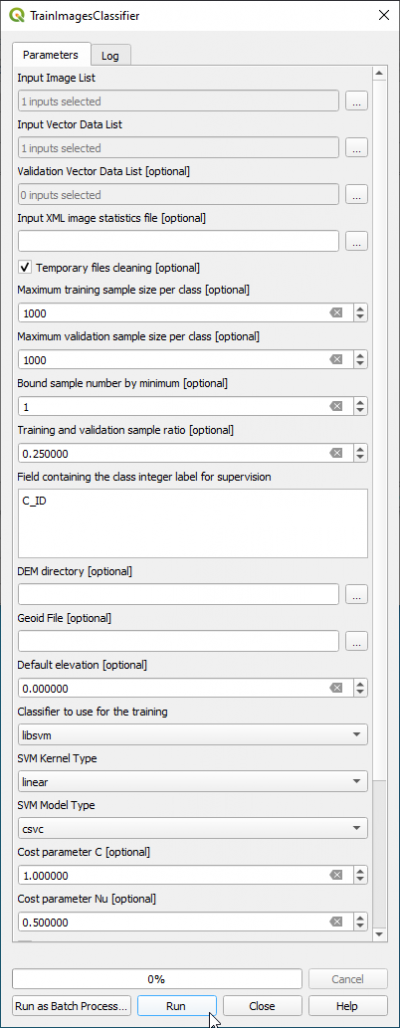
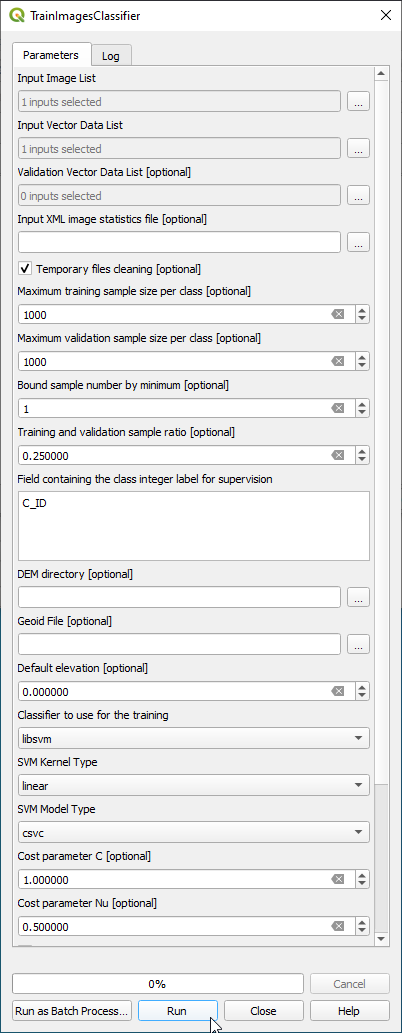
- In the search engine of Processing Toolbox, type TrainImages and open TrainImagesClassifer.
- In the Input Image List select a (or optional: several) multispectral images: Subset_S2A_MSIL2A_20170619T_MUL.tif .
- In the Validation Vector Data List and choose a vector polygon file with an independent sample of validation areas: lucc_validation.shp.
- Type C_ID in the {button|text=Field Name}} text field.
- Choose Support Vector Machine Classifer libsvm from the drop down list.
- SVM Model Type is csvc
- The SVM Kernel Type is Linear.
- Switch checkbox Parameters optimization on.
- In the Output model specify an model file: e.g. lucc_svm.model
- Define an output file for Output confusion matrix or contingency table (e.g.lucc_svm_confusion.csv).
- Click Run.
- Click on the Log tab and inspect the quality measures: Precision, Recall, F-score and Kappa index.
Classification phase
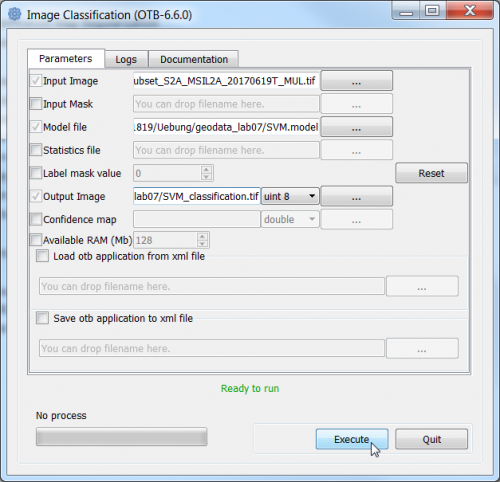
- In the search engine of Processing Toolbox, type ImageClassifier and double click ImageClassifier.
- Set Subset_S2A_MSIL2A_20170619T_MUL.tif as Input image.
- Set Input _mask to blank (top of drop-down list).
- Set lucc_svm.model as Model file.
- Set Output pixel type to uint8
- Save the Output image as svm_classification.tif.
- Uncheck Confidence map: Open output file after running algorithm.
Per pixel classification with OTB standalone
Training phase
- Type into the search box of the Windows taskbar: mapla.bat. Click on mapla.bat to open Monteverdi Application Launcher.
- In the search engine of mapla, type TrainImages and double click TrainImagesClassifer.
- In the Input Image List click on + and select a (or optional: several) multispectral images: Subset_S2A_MSIL2A_20170619T_MUL.tif .
- In the Input Vector Data List choose a vector polygon file with training areas: lucc_training_input.shp.
- Activate the checkbox Validation Vector Data List and choose a vector polygon file with an independent sample of validation areas: lucc_validation.shp
- In the Output model specify an output model file: e.g. lucc_svm.model
- Activate the checkbox and save the Output confusion matrix or contingency table as lucc_svm_confusion.csv.
- In the Bound sample number by minimum field type 1.
- Set the training and validation sample ratio to 0. (0 = all training data).
- Mark C_ID in the Field containing the class integer label (C_ID refers to the column that contains the LUC code in the training and validation vector file).
- Choose LibSVM classifier from the drop down list as Classifier to use for the training.
- The SVM Kernel Type is Linear.
- The SVM Model Type is C support vector classification.
- Switch the Parameters optimization to on.
- Check user defined seed and enter an integer value.
- Click on Execute.
Classification phase
- In the search engine of mapla, type ImageClassifier and double click ImageClassifier
- Set Subset_S2A_MSIL2A_20170619T_MUL.tif as Input image.
- Set SVM.model as Model file.
- Save the Output image as svm_classification.tif.
- Evaluate classification results:
- Load the multispectral Sentinel-2 image Subset_S2A_MSIL2A_20170619T_MUL.tif into QGIS.
- Data source Manager --> Browser --> XYZ Tiles. Select Google Satellite as background layer.
- Load the European Urban Atlas as vector layer Subset-Goe_DE021L1_GOTTINGEN_UA2012_UTM32N.shp
- Add svm_classification.tif to the QGIS project.
- Download the style file classifcation.qml from Stud.IP.
- Right click svm_classification.tif in the TOC and select Properties --> Style --> Style --> Load Style.
- Select the style file classification.qml. OK.
- Open the text file ConfusionMatrixSVM.csv and calculate overall, user and producer accuracies.


